Vegetarian version of the popular Thai dish with grape tomatoes, Thai basil and a spicy sauce.
Lemony Garlic Butter Scallops
Slow Cooker Italian Sausage Meatballs
Arepa Shrimp Bites
Cheddar Stuffed Turkey Sliders
Hawaiian Macaroni Salad
Crab Cake Eggs Benedict
Sweet Potato Almond Butter Dog Biscuits
Warm Apple Pecan Crumble
Need I say more? Find me one person who doesn’t love an apple dessert and I will personally give you… well I won’t give you anything. But seriously, just about everyone I know loves a good baked apple treat!
Growing up, I was much more of a brownie/cookie type of dessert girl but I could always appreciate a good homemade apple pie. But apple pies made the traditional way consisted of one thing that I did not care much for, and that was its crust.
Come to think of it, I never liked any sort of crust as a child, whether it was sliced bread crust, pizza crust and yes, even pie crust! So when I first had an apple pie with a crumble topping instead of a crust, I was immediately sold!
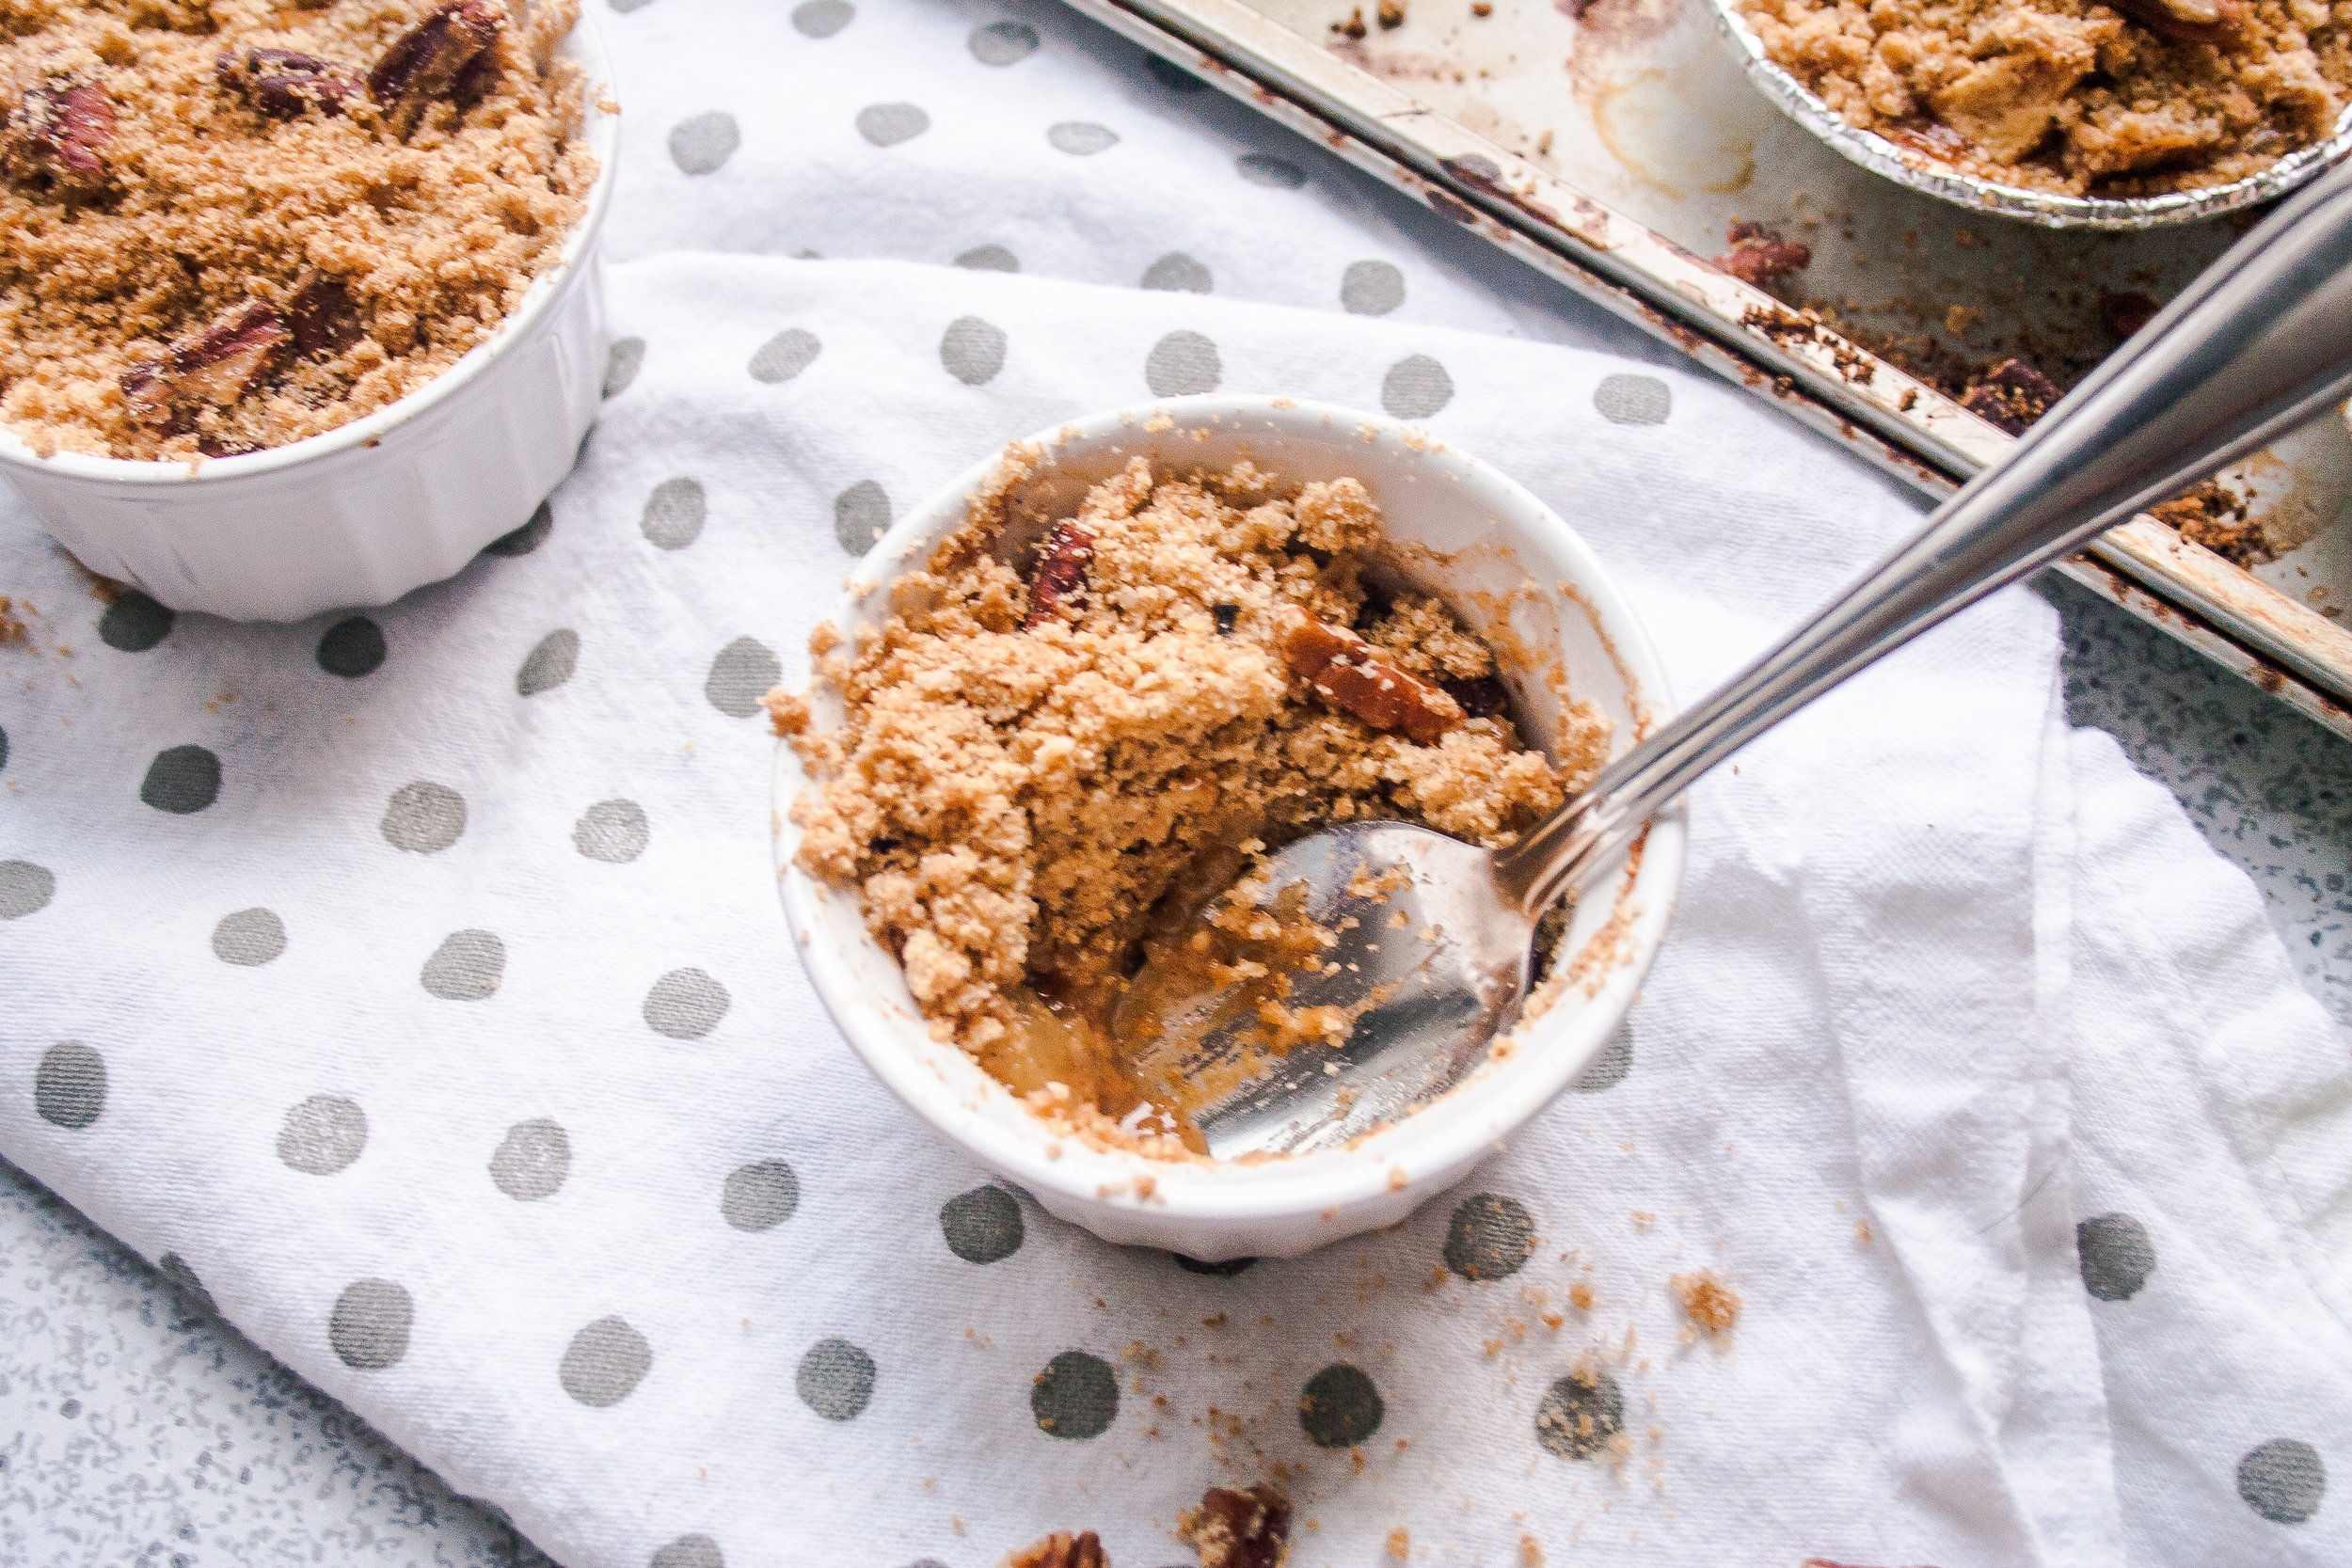
Now there is just one thing I wanted to address about this recipe. And it’s all about baking dishes. When I was thinking about this recipe, I really wanted it to be more of a deconstructed apple pie concept. Something a little messier and falling apart. Then I came across these mini graham cracker crust molds and I couldn’t leave them behind! I was so excited to use them, but afterward I felt like they made the dish more of a pie than a crumble although they were still pretty delicious.
You’ll notice in the pictures that 6 of the crumbles have a foil-lined crust and two of them are in ramekins of a similar size. I prefer the ramekins since it allowed the apple filling to be more dominant. The crust overpowered the filling way more than I had expected. Now, if you don’t have that many ramekin bowls, like didn't, try using muffin tins to bake them in. Then when you’re ready to eat one, just scoop out and into a bowl and go!
Overall I think the flavors of this dessert came out really well but I plan on making this one again soon (once I get more ramekins). Or maybe I’ll take the messy but decadent-looking route and ditch the ramekins all together!
Let me know if you’ve tried this recipe and what baking dished you decide to use. Also, let me know if you had any other baking dish suggestions. I’d love to try them!

- 1 cup flour
- 6 tbsp. butter, softened
- 1/4 cup brown sugar
- 1/2 tsp. ground cinnamon
- 1/2 cup chopped pecans
- pinch of salt
Apple Filling - 1 1/2 lbs. apples, peeled, cored and diced
- 1/2 cup brown sugar, packed
- 1 tbsp. flour
- 1/2 tsp. ground cinnamon
- 1/4 tsp. nutmeg
- 1 tbsp. fresh lemon juice
Creamy Shrimp Fettuccine Alfredo
Disclaimer: This post contains affiliate links. We will receive compensation for any items purchased using the links below, at no additional cost to the buyer.
Good ole Fettuccine Alfredo! Never have you failed to come through in times of need. You were there when I’d come home late from work, not really in the mood to cook. I could just pull a jar out of the pantry, boil some pasta and BAM! A quick, easy and tasty dinner was ready!
It’s so easy for me to just use the pre-made stuff but lately (over the past year or so) I’ve been straying away from the “Lazy Sauce”, that includes marinara and pesto too! I’d much rather add and extra 15 minutes to my cook time to create my own sauce, whose ingredients are fresh and un-manipulated and I know exactly what’s in it. Plus, it tastes 1000 times better!
So, if you’re like me and want to get away from the old reliable but processed Lazy Sauce, this recipe is for you!
I’m aware that there are a million and 1 fettuccine alfredo recipes out there on the internets but I cannot help but and another one. It’s such a classic dish that brings back childhood memories, despite the fact that my mom was more of a spaghetti Bolognese type of person. It’s super simple to make and you can store in the fridge for up to 5 days and freeze for up to 3 months!
So, what’s so different about this recipe, you ask? For starters, to reduce the amount of fat in this recipe, I use equal parts half and half and low sodium chicken broth instead of heavy cream. I also prefer to use asiago cheese to parmesan. It ends up coming out silkier and creamier than that grainy parmesan. Speaking of creamy, I added a bit of cream cheese to the recipe for some extra velvety goodness. I suppose, then, you can toss out that note earlier about reducing fat! Sorry, not so sorry!
In any case, this recipe is quite different from the traditional but delicious nonetheless! Leave me a comment below and let me know your thoughts on this version or if you prefer the traditional way.

- 1 lb. shrimp, peeled & deveined
- 9 oz. package of fresh fettuccine pasta
- 1/2 onion, finely chopped
- 3 garlic cloves, minced
- 1 tsp. Italian seasoning
- 3 tbsp. butter
- 1 tbsp. flour
- 1 cup low fat half and half
- 1 cup low sodium chicken or vegetable broth
- 2 oz. cream cheese
- 1 cup asiago or parmesan cheese
- salt and pepper to taste
- 1 tbsp. flour
SHOP KEY INGREDIENTS & TOOLS:
Buffalo Chicken Lettuce Wraps
Healthy recipe alert!! Ever since I launched More Than You Can Chew in the beginning of this year I can’t say that I’ve become known for posting the healthiest of recipes so I’m pretty hype that I’ve managed to post something that looks good, tastes amazing and is actually pretty healthy!
I say “pretty healthy” because I know how particular people are about what’s considered to be “healthy food”. Some say it has to be vegan, some say it has to have vegetables, some say it should not have carbs. To me, healthy food is just as much what it is as what it isn’t. This dish is not carbs smothered in meat and cheese. And it’s not deep fried and coated in sugar. So it’s definitely considered healthy to me!
That said, there are modifications that can be made to this recipe to make it even healthier. I will list some modification suggestions below but in short, this recipe does include ingredients like breadcrumbs and buttermilk. These are two things that can be omitted without changing the main components of the meal and still produce a pretty tasty result. “But Jasmine, if they can be omitted they why even include them in the recipe?” The reason for that is because I like buttermilk and breadcrumbs, they taste delicious and I can do what I want.
You can also do what you want! Since I started this journey I’ve always stressed the ability to take my recipes and modify them to your liking. All I want is for this to be a guide of what to do but ultimately you can add, omit, replace, reuse, reinvent any recipe on here. I actually encourage it!
Let me know in the comments below if you have any alternatives to this recipe. I’d love to hear your ideas!

- 2 lbs. chicken breast, cut into 8 strips
- 8 large lettuce leaves
- 1 cup buttermilk
- 2 cups panko bread crumbs
- 1/2 tsp. sea salt
- 1/2 tsp. pepper
- 1/4 tsp. garlic powder
- 1/4 tsp. onion powder
- 1/4 tsp. cayenne pepper (optional)
- 1 cup your favorite buffalo sauce
- 1/2 cup blue cheese crumbles
- 1 cup shredded carrots
Instructions- Place chicken in a large bowl and season with salt, pepper, garlic powder, onion powder and cayenne pepper, if using. Pour buttermilk over chicken, cover and refrigerate for at least 1 hour, preferably overnight.
- Heat oven to 400 degrees F.
- Completely coat each buttermilk soaked chicken strip in panko bread crumbs and place on a baking rack over a baking sheet. Bake chicken for 30-35 minutes.
- Remove chicken from oven and cover in buffalo sauce.
- Arrange lettuce wraps by placing one chicken strip on a lettuce leaf. Top with blue cheese and shredded carrots.
DetailsPrep time: Cook time: Total time: Yield: 8 wraps - 1/4 tsp. garlic powder
Notes:
Reduce prep time by seasoning chicken as directed but without buttermilk. This is also a healthier option.
Omit panko breadcrumbs for a healthier alternative.
Use blue cheese dressing instead of crumbles as an alternative. (The crumbles are a better option health-wise)
SHOP KEY INGREDIENTS & TOOLS:
Strawberry-Mango Sorbet Mimosas
It’s almost summer time so that means it’s time to get that beach body ready, prepare for the mass of pool parties and barbecues and eat lots of ice cream in lots of different ways! Now I know sorbet is not really ice cream but it is its fruit cousin, so it counts too!
If you’re a boozy brunch foodie like me then you know how valuable bottomless mimosas are! I decided to put a bit of a spin on these mimosa, and I know I’m not the first, but I wanted to have a little fun with the color combo of this drink and create something both delicious and pretty.
That being said, my first attempt at making these was neither! I used wayyyy too much sorbet and it ended up tasting like I dumped a bunch of pixie sticks into my drink. It was also pretty messy and the champagne kept bubbling over from the tiniest of pours. *Sigh* But I decided to post this anyway because with a few moderations this drink can really be great!
First, don’t over do it on the sorbet. I repeat, LESS IS MORE! Especially if you decide to go with two flavors, I’d recommend no more than a tablespoon of sorbet per glass. So if you do two flavors then ½ tablespoon each.
Second, be patient when pouring. It seems silly to write but if you go ham on the pouring it will bubble like you wont believe and you’ll have wasted champagne everywhere and no one buys alcohol to waste it, so be careful!
Lastly, I got a little lucky with some of the shots I took of these mimosas but wasn’t all that pretty in the end. Could be because of the color combination. Maybe it was the quality of the sorbet I bought. I don’t know, but if you are preparing this for guests at a party I would recommend maybe going with just one flavor or, like I said, just use the sorbet in moderation.
Leave me a comment below if you’ve tried this before, my recipe or others. I’d love to know some of your experiences/trials/tribulations!

- 1 tbsp. favorite sorbet flavor(s)
- 4 oz Brut champange
- favorite fruit


