


Homemade gnocchi in an Asiago Alfredo sauce with a hint of rosemary.

Chipotle chicken and black bean stuffed "arempanadas" made with homemade arepa dough.
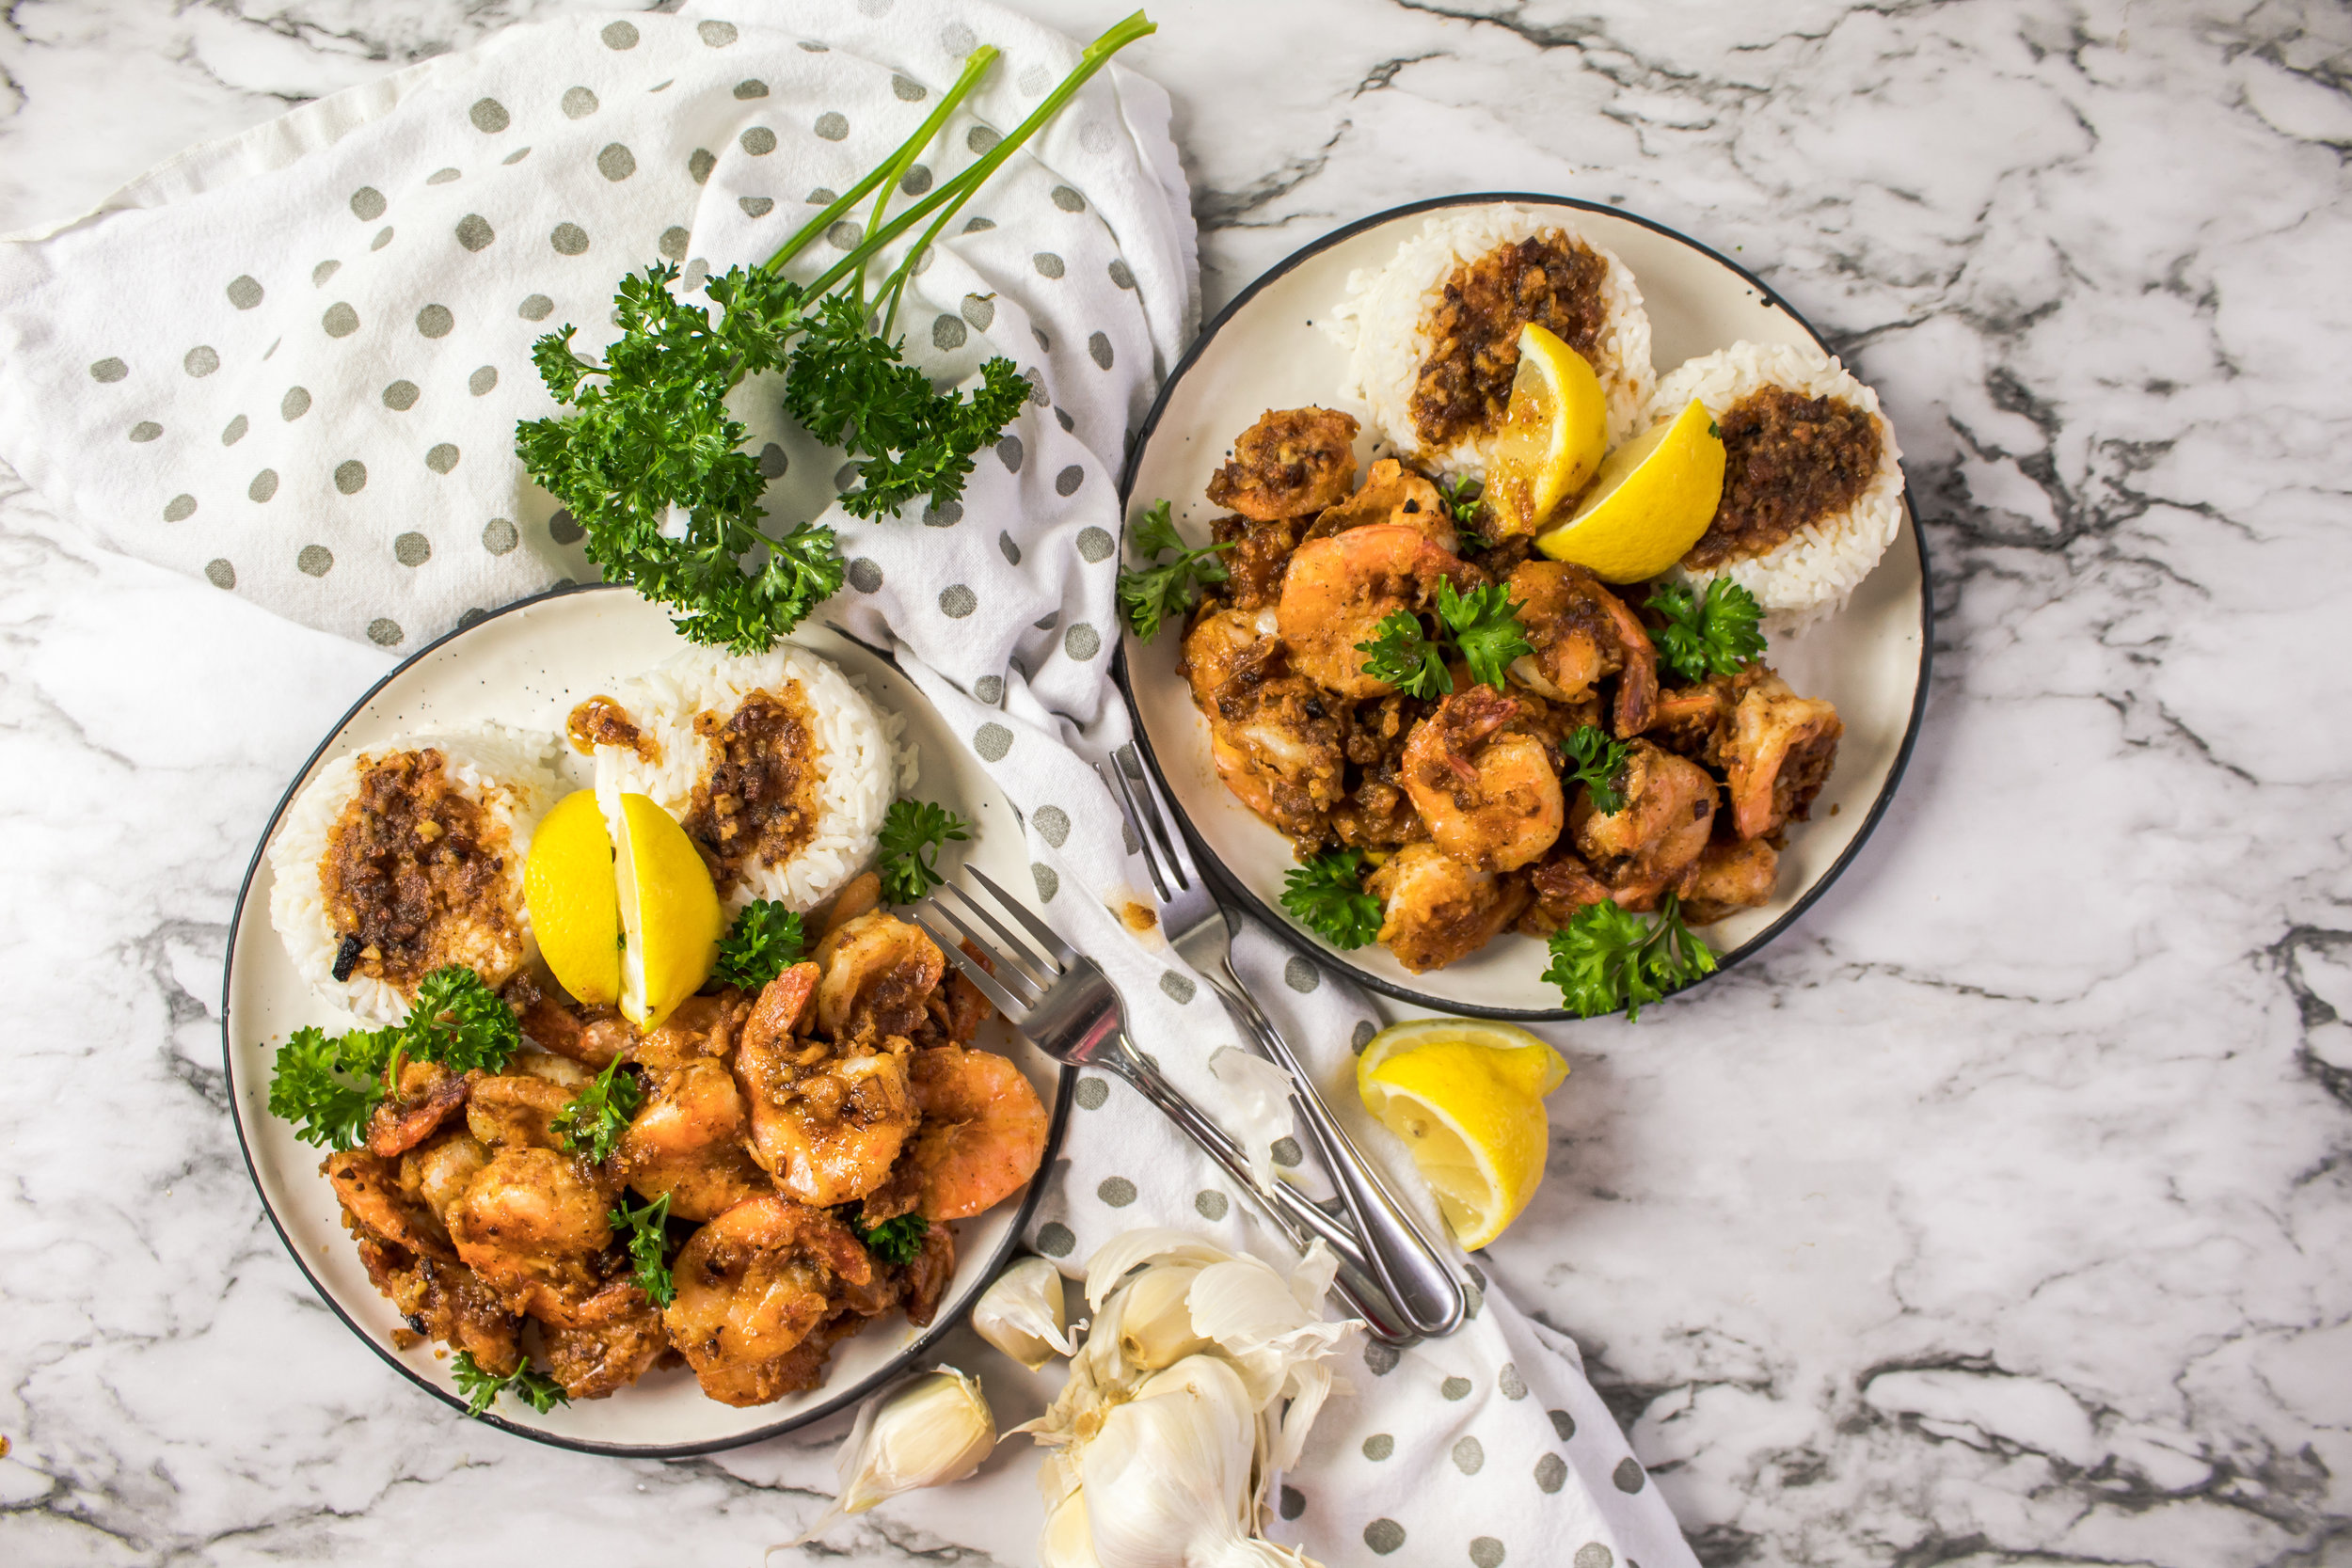
Hawaii’s famous juicy & buttery garlic shrimp, like they’re straight from the North Shore!
Soft baked, extra spiced snickerdoodle cookies with toffee bits and gooey caramel.
Traditional Vietnamese soup made with onion, ginger and spices. Perfect for cozying up on cold winter nights.
Disclaimer: This post contains affiliate links. We will receive compensation for any items purchased using the links below, at no additional cost to the buyer.
Good ole Fettuccine Alfredo! Never have you failed to come through in times of need. You were there when I’d come home late from work, not really in the mood to cook. I could just pull a jar out of the pantry, boil some pasta and BAM! A quick, easy and tasty dinner was ready!
It’s so easy for me to just use the pre-made stuff but lately (over the past year or so) I’ve been straying away from the “Lazy Sauce”, that includes marinara and pesto too! I’d much rather add and extra 15 minutes to my cook time to create my own sauce, whose ingredients are fresh and un-manipulated and I know exactly what’s in it. Plus, it tastes 1000 times better!
So, if you’re like me and want to get away from the old reliable but processed Lazy Sauce, this recipe is for you!
I’m aware that there are a million and 1 fettuccine alfredo recipes out there on the internets but I cannot help but and another one. It’s such a classic dish that brings back childhood memories, despite the fact that my mom was more of a spaghetti Bolognese type of person. It’s super simple to make and you can store in the fridge for up to 5 days and freeze for up to 3 months!
So, what’s so different about this recipe, you ask? For starters, to reduce the amount of fat in this recipe, I use equal parts half and half and low sodium chicken broth instead of heavy cream. I also prefer to use asiago cheese to parmesan. It ends up coming out silkier and creamier than that grainy parmesan. Speaking of creamy, I added a bit of cream cheese to the recipe for some extra velvety goodness. I suppose, then, you can toss out that note earlier about reducing fat! Sorry, not so sorry!
In any case, this recipe is quite different from the traditional but delicious nonetheless! Leave me a comment below and let me know your thoughts on this version or if you prefer the traditional way.

So I wanted to start by announcing that this is More Than You Can Chew’s first fish dish! Yay for fish! To be honest, I don’t eat fish as much as I’d like to, hence the scarcity on this blog. Ugh, I know, but Devin is not the biggest fan and there are very few fish options whenever we go grocery shopping so It’s just not something we usually buy. But, of course, leave it to me to make my first fish recipe to have jerk somewhere involved!
Jerk seasoning originated from Jamaican when slaves fled British invasion and were forced to adapt to new surroundings. They used the plants and spices available to them and developed this incredible seasoning that became a Jamaican staple. Coming from a large West Indian family who’s had heavy influences from Latin, Caribbean and African cuisine, jerk was something that I’ve had TONS of, whether on chicken, pork, shrimp or fish, and I love it with a passion!
Jerk seasoning comes in either a dry or wet form and have a variety of spice levels from mild to very VERY hot. I’ve used both wet and dry in my recipes before, but I found it easier to make and store dry seasoning so that’s what I primarily use. I’ve included a recipe for my homemade jerk seasoning at the bottom of this post but feel free to use store bought seasoning. Either wet or dry will work for this recipe.
So now let’s talk mango salsa. Typically, restaurants that serve jerk dishes (except traditional, local Jamaican spots because ain’t nobody got time) accompany them with a sweet sauce or salsa. Usually it would have mango or pineapple involved. The sweetness of the fruit brings out the brown sugar in the jerk and it is damn good, especially if you’re eating it with fish or shrimp. Whenever I have a mango or pineapple salsa with my jerk, I like it to be extra spicy because spicy and sweet = HEAVEN!
Lastly, I like to accompany it all with either brown rice or quinoa and some greens. This is totally optional but I figured this is already healthy, might as well go full monty and add more healthy stuff! This recipe as written only includes salmon and salsa, but literally it’s not that hard to make quinoa and greens if you choose, but I wanted to make the salmon and salsa the main stars of this dish. Eating it just like this is perfectly fine!
So, what are your thoughts about jerk seasoning? Have you tried it or cooked with it before? Let me know in the comments and let me know if you tried this recipe!


This is yet another one of my favorite Asian dishes to grace this blog. Trust me there are many more to come! Red curry was probably the second Thai dish that I’ve ever tried, after Pad Thai, of course. This one is Devin’s favorite. When we lived in our tiny 450 sq. ft. apartment in Brooklyn we ordered out A LOT. Mind you, our kitchen was super small, we had no dishwasher and I wasn’t super into cooking yet. Living in Brooklyn also came with a plethora of food options so these were all valid reasons to continuously order out.
My undying love of Asian food had me always craving either sushi, Chinese or Thai, so whenever Devin gave into the Thai option, Red Curry was always his go to. I should mention that we lived in Borough Park, Brooklyn that had a large Asian population so they truly knew how to make some bomb-ass curry!
Since moving to Virginia, we definitely did not have as many good food options as we were used to. On the contrary, moving to Virginia came with more living space, a larger kitchen and, alas, a dishwasher! Thus my desire to cook the meals we were so used to ordering was born and so was this blog!
I think that’s about enough of a backstory. Let talk curry! So as always, I’m going to let you know that the veggies/meat in this recipe are not set in stone. I just used the veggies that I prefer but I’ve had many red curry dishes that used different veggies. Some alternatives would be zucchini, asparagus, green beans, snow peas and squash. I’d say any veg that has a firm consistency could be used.
In terms of alternatives, the same goes for meat. You can make this completely vegetarian by just leaving out the chicken. It will also cut 10 minutes of your cook time! But if you’re like Devin and MUST HAVE MEAT, shrimp is a great alternative to chicken. Fish could work as well but be aware, it may break apart in the sauce.
As for flavor, we’ve tried a lot of different seasoning variations from takeout. Some were sweet, some were spicy, some were more savory. Our favorites were on the sweet and spicy side. The amount of sugar used in this recipe was perfect for OUR liking. So I’d suggest to start with less and gradually add more as you taste. Fish sauce is what will make it more savory/salty. It also adds a distinct flavor that you may or may not like so add this gradually as well, or opt for using salt instead.
How do you love your red curry? Sweet? Savory? Spicy? All the things? Let me know in the comments below!

Let me tell you why I so excited about this recipe. Well for starters, I genuinely did not expect it to come out as good as it did! I’ve made a version of this a while back, you know, before blogging, and it turned out just okay. I can’t pinpoint what went wrong the last time but it just was not the same. Wait no, I know exactly what it was, there wasn’t any bacon! Seriously the bacon makes this dish everything!
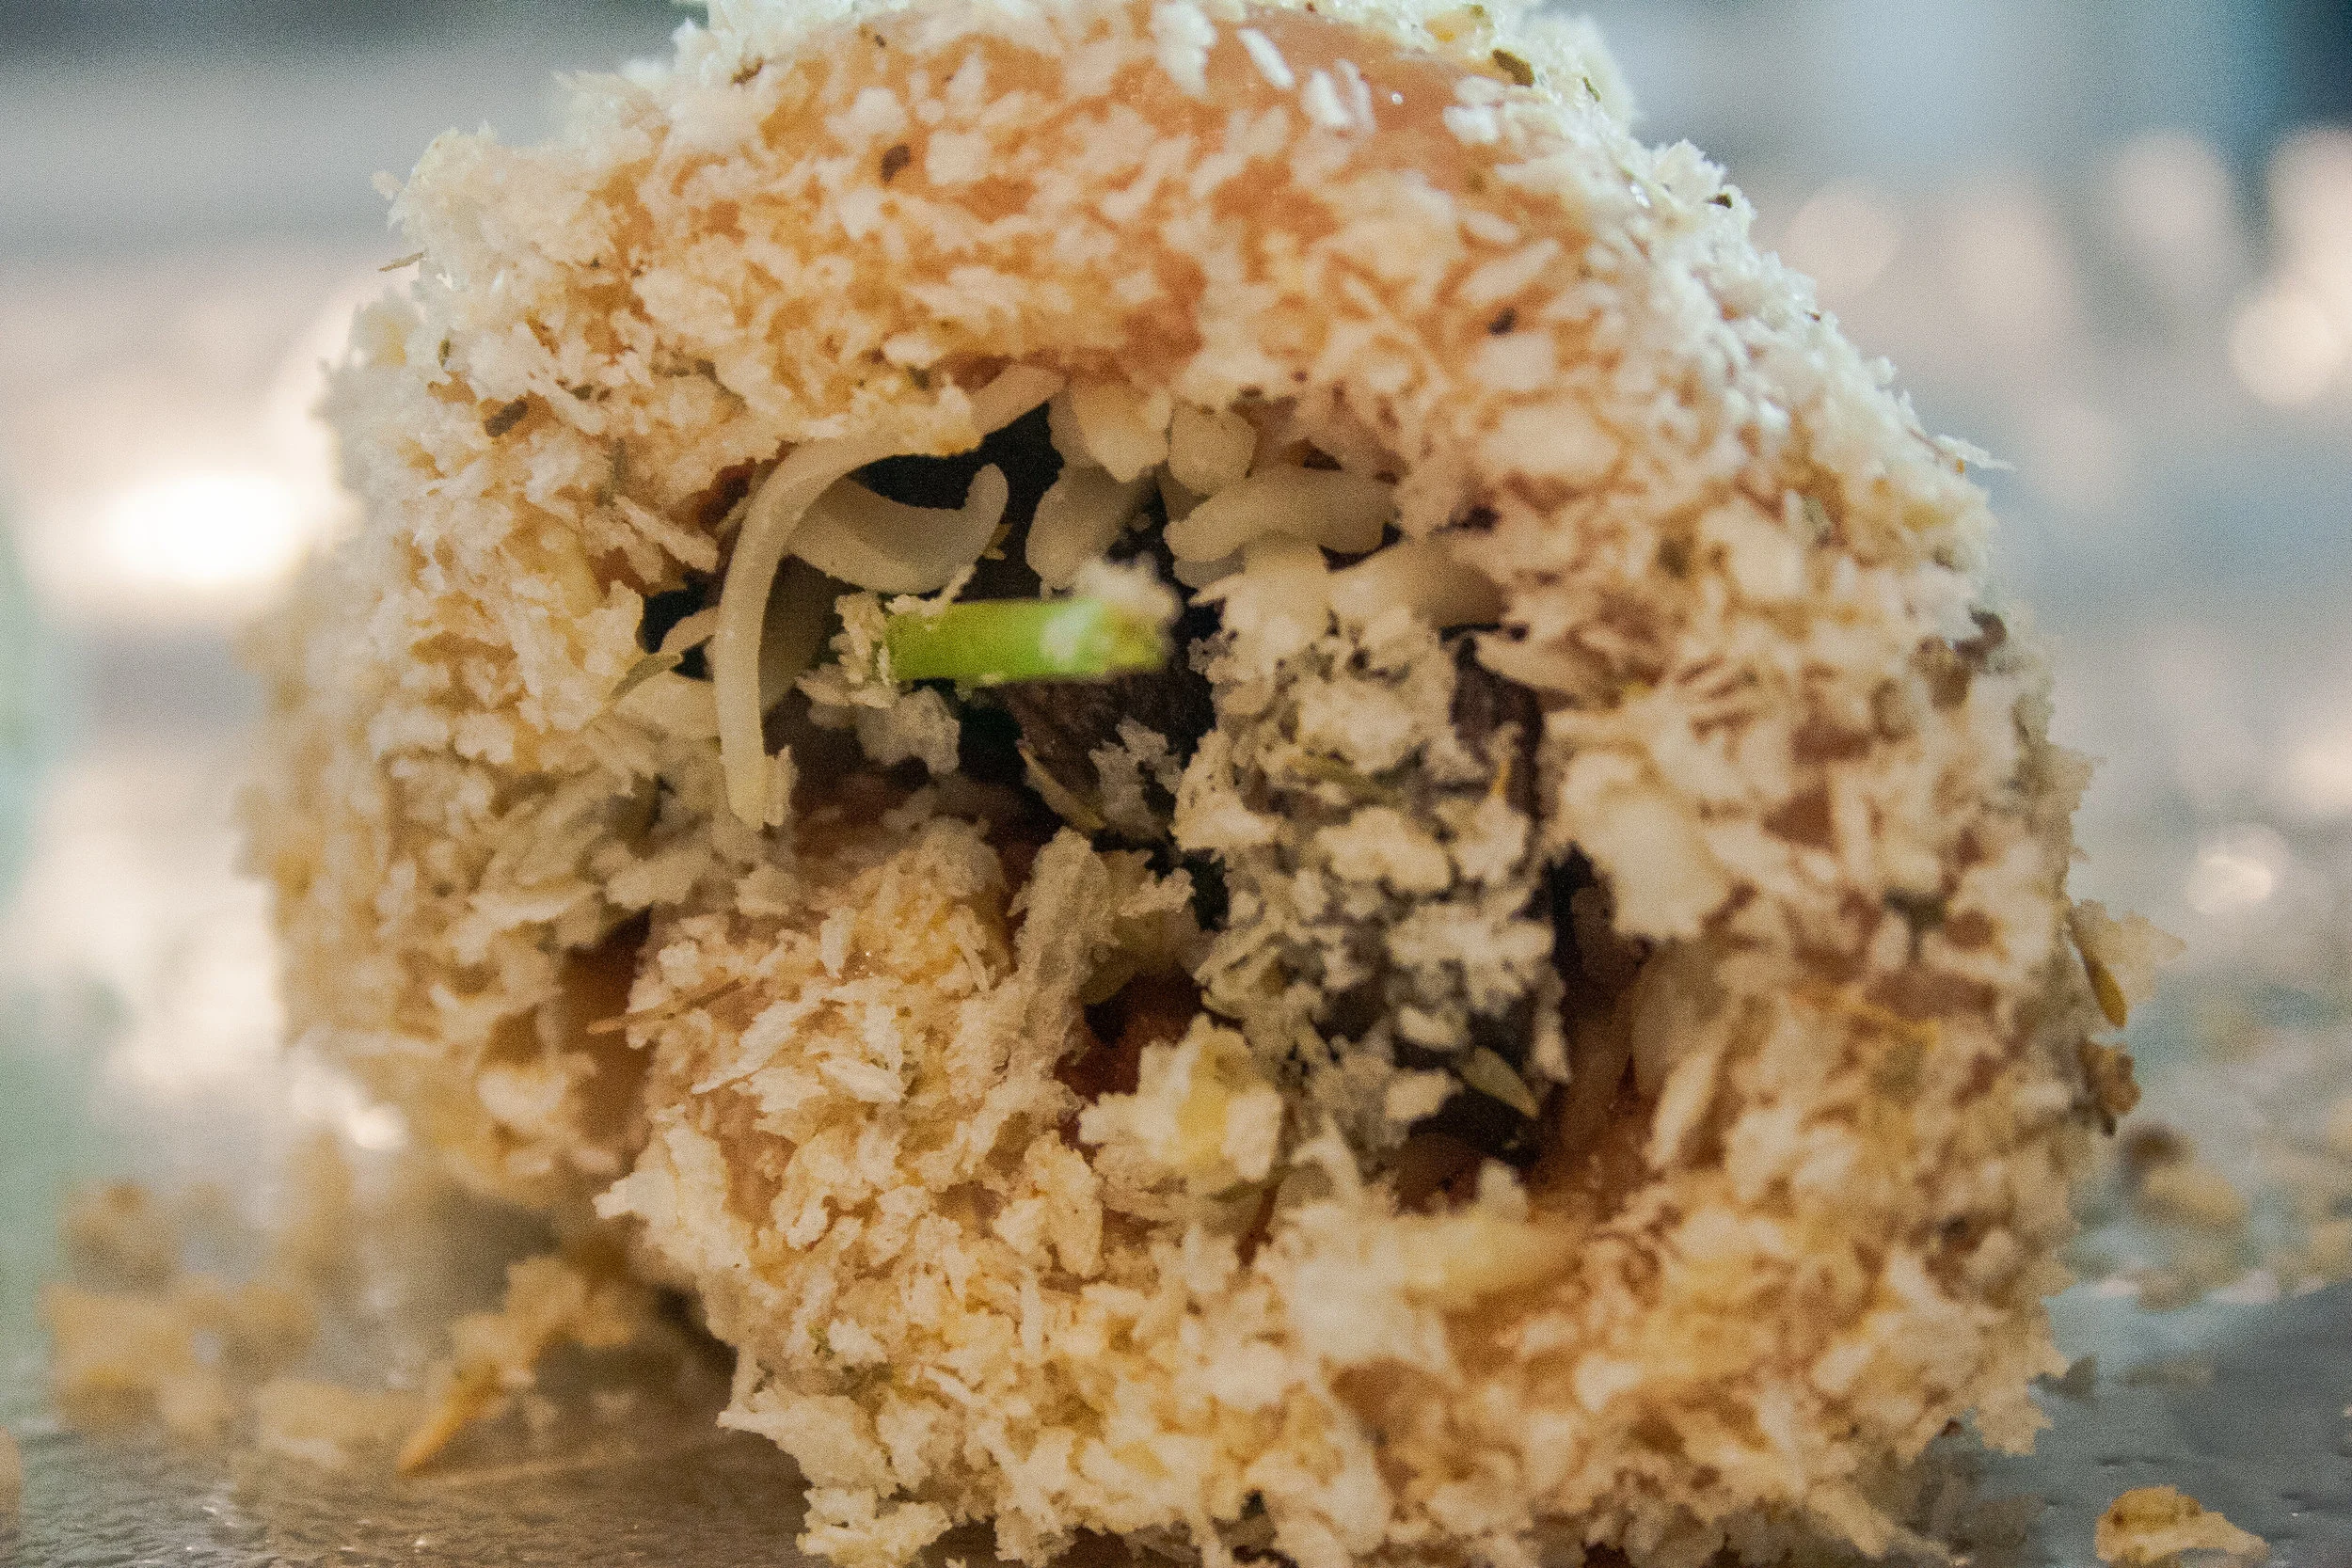
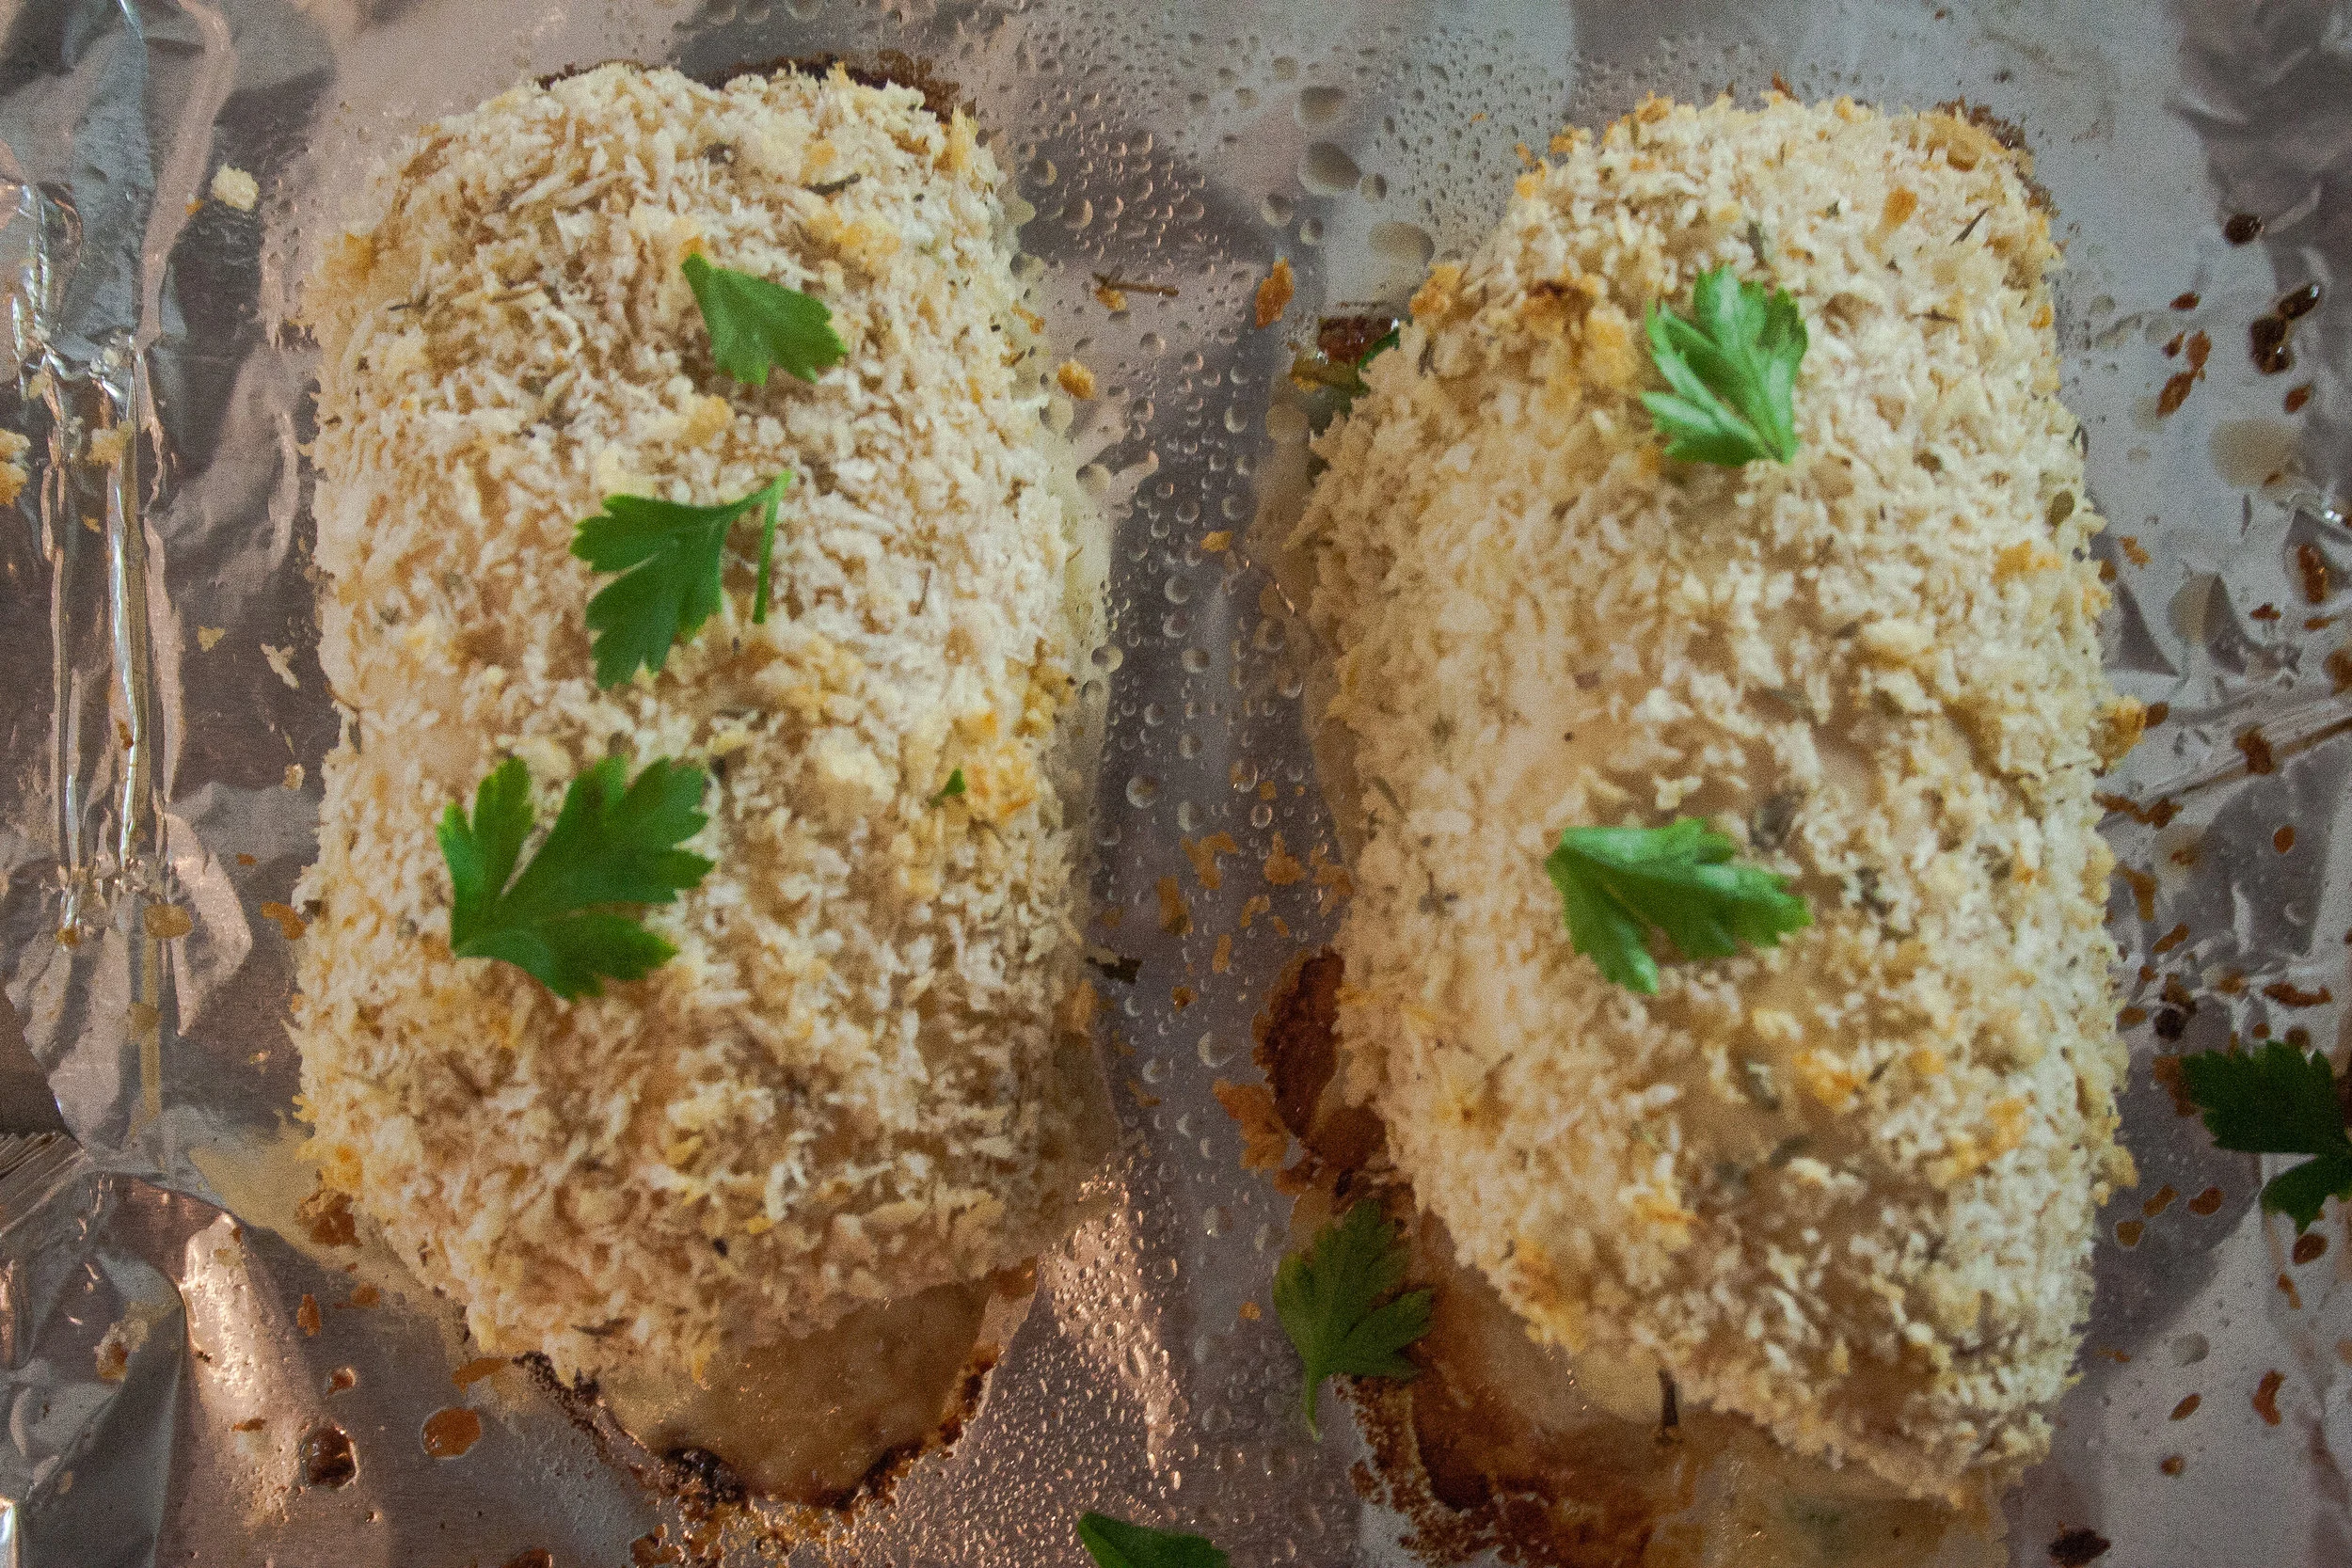
The other thing about this recipe is that it was easy AF to put together! I would say one of the key components was beating the shit out of that chicken breast. Not only does it make it very easy to roll, but it was legit a fun time! You also have the option of buying pre-sliced chicken that are perfectly thin enough for rolling but it takes all the fun out of it! Just slice a regular chicken breast in half and go to town! Just remember to cover it with plastic wrap first otherwise you’ll end up with a massacred chicken mess.
After you punish the chicken, you have to layer your filling. We, well mostly Devin, decided to use mozzarella, mushroom and, of course, bacon. I threw in the spinach for some color. I really doesn’t matter what you decide to fill with, but we found that this flavor combination was too good to pass on. One tip is that you should try to use the “creamy” shredded mozzarella. Kraft has a “creamy shredded mozzarella” that has cream cheese in it and it unbelievable! This is in no way sponsored or anything, I truly believe this!
Rolling the chicken is much easier than it may seem at first. The trick is to roll pretty tight so that the filing doesn’t fall out and all the flavors can fuse together. Secure the end with the toothpick and that’s it! Jus make sure to take them out when it’s done cooking!
Now on to the panko coating. This is optional but I really do think it makes a difference. The last time I made these roll ups, I didn’t coat them in any type of breadcrumbs, and it was seriously lacking. Most recipes online will say to dip the rolls in milk before breading them. But I once read a comment on one of the recipes I saw and it said that instead of milk, she used yellow mustard. I thought that was so genius! However, Instead of yellow mustard, I used Dijon because I’m bougie and not sorry about it! But anyway, the mustard gives it another added layer of flavor while also helping the breadcrumbs to stick perfectly.
This isn’t specifically stated in the recipe, but I also season the panko crumbs with salt, pepper, oregano and thyme. This may seem like an obvious thing to do, but if it didn’t seem obvious to you then it’s your reward for actually reading the blog post! I am truly thankful for that! So, now you’re ready to pop these bad boys in the oven and wait. I’d use this time to make your side dish. This particular time I made goat cheese mash potatoes. And I promise I will post a recipe for this because it was on point!!
Once the chicken is done go ahead and slice them. Not only does this show all the goodness inside but also helps to remind you that there are toothpicks still in them! Please take those out! Now that you’ve avoided being attacked by your dinner, it's time to eat!
Let me know in the comments if you thought this recipe was as damn good as I did! Did you follow the recipe to a tee or try anything different? Let me know!